Easy No Yeast Pizza Dough – Quick Homemade Pizza
An excellent No Yeast Pizza Dough is your secret weapon for effortless, delicious homemade pizza nights! Forget waiting for dough to rise or dealing with fussy yeast packets. This recipe is an absolute game-changer, transforming your kitchen into a pizzeria in a fraction of the time. We all love pizza, right? The comforting chew of the crust, the bubbling cheese, the endless topping possibilities – it’s a crowd-pleaser for a reason. But what makes this particular no yeast pizza dough so special is its incredible speed and simplicity. It delivers a wonderfully tender yet satisfyingly chewy crust that’s perfect for all your favorite toppings, proving that you don’t need yeast to achieve pizza perfection. Get ready to impress yourself and your loved ones with truly outstanding pizza, made easy.
An Excellent No Yeast Pizza Dough – Quick Easy Homemade Pizza!
Tired of waiting for yeast to proof or dealing with the finicky nature of sourdough starters? You’re in the right place! This no-yeast pizza dough recipe is an absolute game-changer for anyone craving delicious, homemade pizza without the fuss. It’s incredibly quick to whip up, uses pantry staples, and delivers a wonderfully satisfying crust that’s perfect for all your favorite toppings. Imagin extracte this: a weeknight dinner that’s a step above delivery, made by you, in your own kitchen, with minimal effort. This recipe is designed for speed and simplicity, making homemade pizza accessible even on your busiest evenings. The secret lies in the baking powder, which acts as our leavening agent, creating a light and airy crust with a delightful chew. Let’s get started on creating your perfect pizza base!
Ingredients:
Instructions:
Phase 1: Mixing the Dough
1. In a medium-sized mixing bowl, combine the dry ingredients: 1 1/3 cups of bread flour, 2 teaspoons of baking powder, 3/4 teaspoon of salt, and 3/4 teaspoon of sugar. It’s important to whisk these together thoroughly. This ensures that the baking powder, salt, and sugar are evenly distributed throughout the flour. Even distribution of the baking powder is crucial for a consistent rise and a well-leavened crust. The sugar, while a small amount, helps to contribute to a slight browning of the crust and can also feed the yeast if you were using it (though not essential here, it’s a good habit for doughs). Give it a good whisk with a fork or a small whisk for about 30 seconds.
2. Add the wet ingredients to the dry ingredients. Pour in 2 teaspoons of olive oil (or your preferred cooking oil) and 1/2 cup of cold tap water. Start by stirring the ingredients together with a spoon or a spatula. As you stir, you’ll notice the mixture will begin extract to come together into a shaggy dough. Don’t worry if it looks a bit lumpy or uneven at this stage; that’s perfectly normal. Continue mixing until there are no dry pockets of flour left in the bowl. The cold water is generally preferred for pizza doughs as it helps to develop gluten more slowly and results in a more tender crust, especially without yeast where the development of gluten is slightly different.
Phase 2: Kneading and Resting (Minimal!)
3. Turn the dough out onto a lightly floured surface. You’ll use the 1 tablespoon of extra flour here for dusting your work surface and your hands. Knead the dough gently for about 3-5 minutes. This dough doesn’t require extensive kneading like a yeast dough. We’re just looking to bring it together into a smooth, cohesive ball and develop just enough gluten for structure. Over-kneading can make the crust tough. You’ll know it’s ready when it’s smooth to the touch and no longer excessively sticky. If the dough is still too sticky to handle, you can add a tiny bit more flour, a teaspoon at a time, but try to use as little as possible. A good test is to press your finger into the dough; if it springs back slightly, it’s in good shape.
4. Once the dough is smooth, you can either use it immediately or let it rest for a short period. For this no-yeast recipe, a long rest isn’t necessary. You can shape it right away, or if you have a few minutes, cover the dough ball with the mixing bowl or a clean kitchen towel and let it rest for about 10 minutes. This short rest allows the gluten to relax, making it easier to shape the dough into your desired pizza crust. It’s not a proofing period, just a brief moment of relaxation for the dough.
Phase 3: Shaping and Baking
5. Now it’s time to shape your pizza! Preheat your oven and any pizza stone or baking sheet you’ll be using to 450°F (230°C). This high heat is essential for achieving a crispy crust. On your lightly floured surface (or between two pieces of parchment paper for easier handling), gently press and stretch the dough into your desired pizza shape. You can use your hands to press it outwards from the center, or you can use a rolling pin if you prefer a perfectly uniform circle. Aim for a thickness of about 1/4 inch. If the dough springs back, let it rest for another minute or two before continuing to stretch. Don’t strive for perfection; even a rustic shape tastes delicious!
6. Once your pizza base is shaped, transfer it to your preheated pizza stone or baking sheet. If you’re using parchment paper, you can carefully slide the parchment paper with the dough onto the hot surface. Now you can add your favorite pizza sauce, cheese, and toppings. Don’t overload the pizza, as this can lead to a soggy crust. A light to medium hand with the toppings is best.
7. For an optional but highly recommended step, if you like a golden, slightly crispier crust edge, brush the outer rim of your pizza dough with the 2 teaspoons of vegetable oil (or canola or other neutral oil) before baking. This adds a beautiful sheen and a lovely textural contrast to the finished pizza.
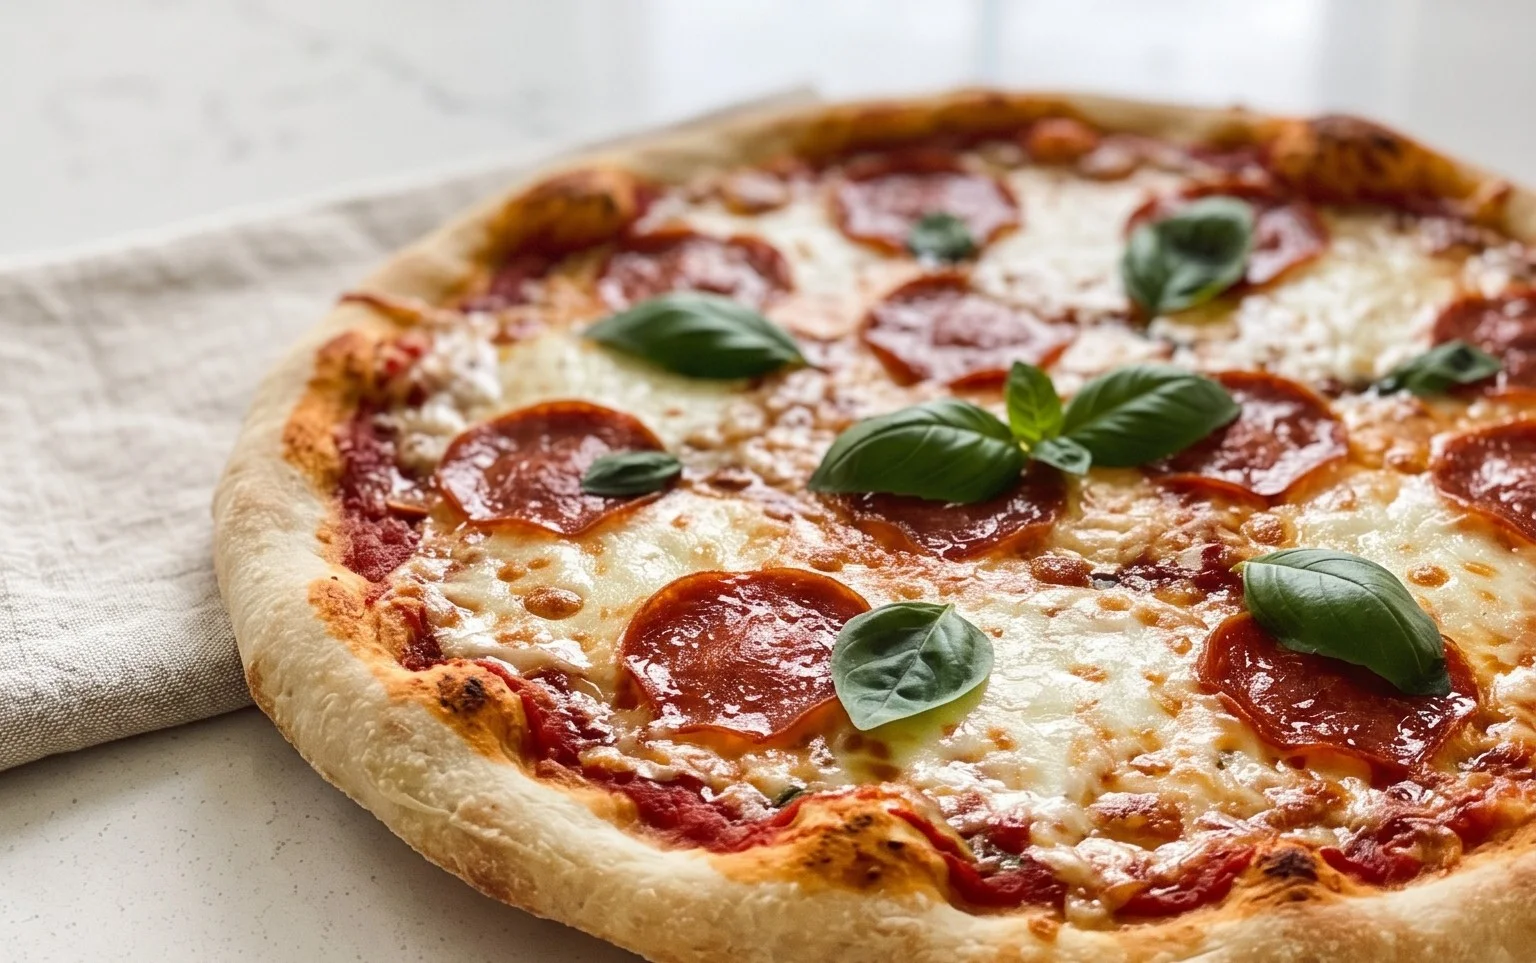
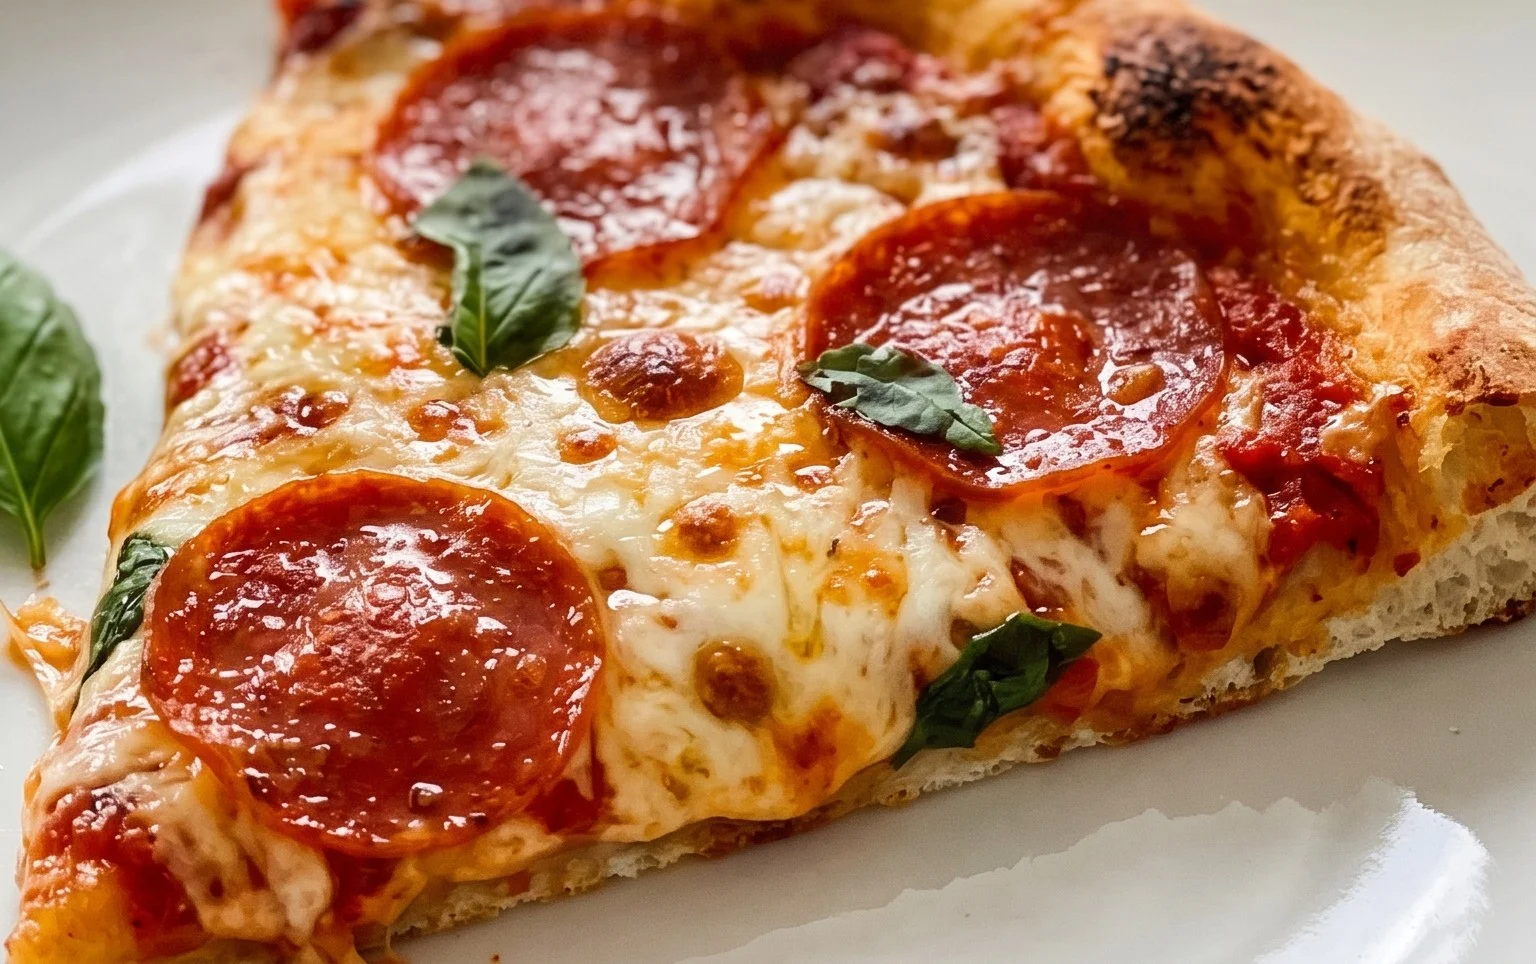
8. Bake your pizza in the preheated oven for 10-15 minutes, or until the crust is golden brown and the cheese is bubbly and slightly browned. The exact baking time will depend on your oven and the thickness of your crust. Keep an eye on it to prevent burning. Once it’s done, carefully remove the pizza from the oven. Let it cool for a minute or two before slicing and enjoying your incredible homemade, no-yeast pizza! This recipe is perfect for busy weeknights, impromptu pizza parties, or just when that pizza craving strikes and you want something quick, easy, and utterly delicious.
Conclusion:
So there you have it – your path to a truly excellent no yeast pizza dough! We’ve shown you just how quick and easy it is to create delicious homemade pizza without the waiting time associated with traditional yeast-leavened doughs. This recipe is a lifesaver when that pizza craving strikes unexpectedly. The beauty of this no yeast pizza dough lies in its simplicity, yielding a satisfyingly chewy crust with just a hint of crispness that’s perfect for holding all your favorite toppings. Don’t be afraid to experiment!
Serve this amazing pizza hot from the oven with classic marinara and mozzarella, or get creative with gourmet toppings like beef prosciutto and arugula, or even a white sauce base with roasted vegetables. For a fun twist, consider adding a pinch of garlic powder or dried herbs directly into the dough itself for an extra layer of flavor. I truly encourage you to give this recipe a try; you might just find it becomes your go-to for all your pizza nights.
Frequently Asked Questions:
Can I make this dough ahead of time?
Yes, you can! Once the dough is made, you can wrap it tightly in plastic wrap and refrigerate it for up to 24 hours. Allow it to come to room temperature for about 30 minutes before shaping and baking for best results.
What can I do if my dough is too sticky?
If your dough is too sticky to handle, lightly dust your hands and the work surface with a little more flour. Be careful not to add too much, as this can make the crust tough. A touch of olive oil on your hands can also help prevent sticking.
Can I use a different type of flour?
While all-purpose flour works wonderfully, you can experiment with adding a small percentage (around 10-20%) of whole wheat flour for a nuttier flavor and added fiber. However, stick primarily to all-purpose for this no yeast pizza dough recipe to ensure the best texture.
An excellent No Yeast Pizza Dough – quick easy homemade pizza!
A quick and easy no-yeast pizza dough recipe perfect for homemade pizzas. This recipe uses baking powder for leavening, making it ideal for when you don’t have yeast or time to wait for it to rise.
Ingredients
-
1 1/3 cups bread flour
-
2 tsp baking powder
-
3/4 tsp salt
-
3/4 tsp sugar
-
2 tsp olive oil
-
1/2 cup water
-
1 tbsp Extra Flour (, for dusting)
-
2 tsp vegetable oil (, for brushing crust (optional))
Instructions
-
Step 1
In a large bowl, whisk together the bread flour, baking powder, salt, and sugar. -
Step 2
Add the olive oil and water to the dry ingredients. Mix with a spoon or spatula until a shaggy dough forms. -
Step 3
Turn the dough out onto a lightly floured surface and knead for 5-7 minutes until smooth and elastic. -
Step 4
If the dough is too sticky, add a little more flour, a tablespoon at a time. If it feels too dry, add a teaspoon of water. -
Step 5
Shape the dough into a ball, cover with a clean kitchen towel, and let it rest for 10-15 minutes. This allows the gluten to relax, making it easier to shape. -
Step 6
Preheat your oven and pizza stone or baking sheet according to your pizza recipe. Roll or stretch the dough to your desired pizza shape. Brush the crust with vegetable oil if desired.
Important Information
Nutrition Facts (Per Serving)
It is important to consider this information as approximate and not to use it as definitive health advice.
Allergy Information
Please check ingredients for potential allergens and consult a health professional if in doubt.