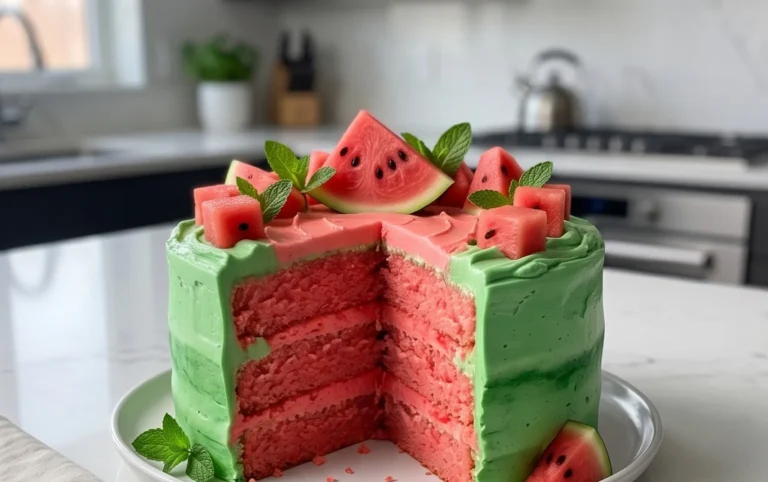
Lucky St Patricks Day Desserts Recipes
St. Patrick’s Day Desserts are more than just a sweet treat; they’re a vibrant celebration on a plate! As the emerald isle comes alive with festive spirit, our kitchens should too, bursting with the irresistible allure of green, gold, and all things merry. We all love these delightful confections because they perfectly capture the joy and whimsy of the holiday, transforming simple ingredients into edible expressions of luck and cheer. What truly makes St. Patrick’s Day Desserts special is their ability to bring people together, sparking smiles and creating cherished memories with every decadent bite. Whether you’re a seasoned baker or just looking for a fun way to join the festivities, these recipes promise to add a touch of magic to your St. Patrick’s Day celebrations.

St. Patrick’s Day Desserts: A Taste of Emerald Isle Merriment
Get ready to sbeef hamrock your way into the kitchen with these delightful St. Patrick’s Day desserts! March 17th is a fantastic excuse to embrace all things green and celebratory, and what better way to do that than with a spread of sweet treats that capture the spirit of the Emerald Isle? Whether you’re hosting a festive gathering or simply want to add a touch of Irish cheer to your day, these recipes are sure to be a hit. We’ll be focusing on a few vibrant and delicious options that are surprisingly easy to whip up, guaranteeing smiles all around. So, grab your apron and let’s get baking!
Lucky Charm Brownies
These aren’t just any brownies; they’re infused with the fun and nostalgia of everyone’s favorite childhood cereal! The vibrant colors of Lucky Charms cereal add a playful pop to a classic fudgy brownie base, making them a guaranteed crowd-pleaser for all ages.
Ingredients:
Baking the Lucky Charm Brownies
1. Prepare Your Baking Pan and Preheat the Oven: Start by preheating your oven to 350 degrees Fahrenheit (175 degrees Celsius). Grease and flour a 9×13 inch baking pan, or line it with parchment paper for easy removal. This ensures your beautiful brownies won’t stick and will come out in perfect squares. A light dusting of cocoa powder instead of flour can also prevent a white residue on your dark brownies.
2. Mix the Wet Ingredients: In a large mixing bowl, combine the melted butter and granulated sugar. Whisk them together until well incorporated and the mixture is smooth. Next, add the eggs one at a time, beating well after each addition. Stir in the vanilla extract. This creates the rich, fudgy base of our brownies. Don’t overmix at this stage; just ensure everything is combined.
3. Combine Dry Ingredients and Fold into Wet Mixture: In a separate medium bowl, whisk together the all-purpose flour, unsweetened cocoa powder, baking powder, and salt. Gradually add this dry mixture to the wet ingredients, mixing on low speed (or with a spatula) until just combined. Be careful not to overmix the batter once the flour is added, as this can lead to tough brownies. We want a tender, chewy texture!
4. Stir in the Chocolate Chips and One Cup of Cereal: Now comes the fun part! Gently fold in the milk chocolate chips and white chocolate chips. Then, carefully stir in 1 cup of the Lucky Charms cereal. Reserve the remaining half cup of cereal for topping later. Try to distribute the chips and cereal evenly throughout the batter.
5. Bake and Decorate: Pour the brownie batter into your prepared baking pan and spread it evenly. Sprinkle the remaining 1/2 cup of Lucky Charms cereal over the top of the batter. Press the cereal down very lightly so it adheres to the surface. Bake for 25-30 minutes, or until a toothpick inserted into the center comes out with moist crum extractbs attached (not wet batter). Overbaking will result in dry brownies, so keep an eye on them! Let the brownies cool completely in the pan before cutting them into squares. This is crucial for clean cuts and preventing them from falling apart.
Mint Chocolate Chip “Grasshopper” Cupcakes
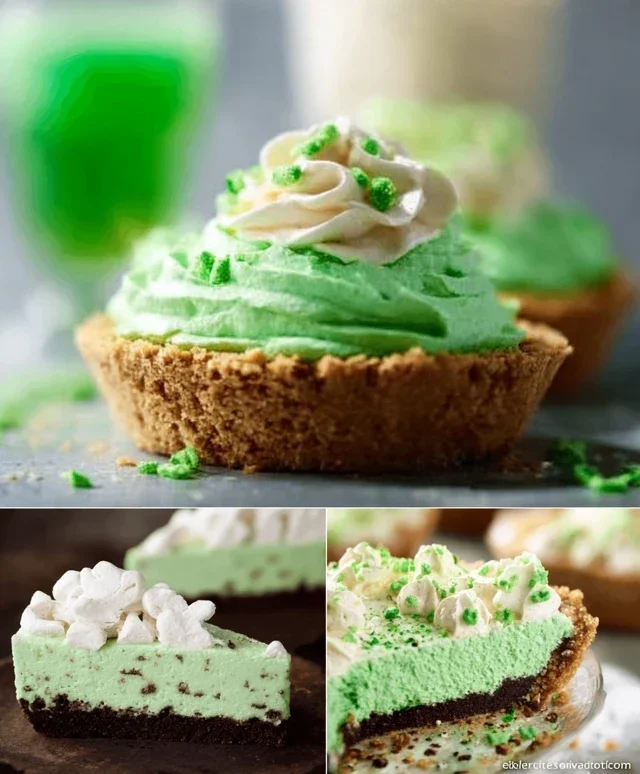
These cupcakes are like a refreshing burst of minty green, reminiscent of the lush Irish countryside. The combination of cool mint and rich chocolate is a classic for a reason, and these cupcakes are no exception. They’re a delightful way to add a pop of color and flavor to your St. Patrick’s Day celebrations.
Ingredients:
Crafting the Mint Chocolate Chip Cupcakes
1. Prepare the Cupcake Batter: Begin extract by following the instructions on your white cake mix box. Once you’ve combined the cake mix with the wet ingredients specified on the packagin extractg (typically eggs, oil, and water), it’s time to add our special St. Patrick’s Day twist. Stir in the peppermint extract until it’s well distributed throughout the batter.
2. Achieve the Perfect Green Hue: Now, let’s get these cupcakes looking festive! Add green food coloring to the batter, a few drops at a time, until you achieve your desired shade of green. You can go for a light, pastel green or a vibrant emerald color, depending on your preference. Mix until the color is uniform.
3. Bake Your Green Delights: Line a muffin tin with cupcake liners. Fill each liner about two-thirds full with the green cake batter. Bake according to the cake mix box directions, typically around 18-22 minutes, or until a toothpick inserted into the center of a cupcake comes out clean. Allow the cupcakes to cool in the muffin tin for a few minutes before transferring them to a wire rack to cool completely. It’s important they are fully cooled before frosting.
4. Whip Up the Frosting and Add Cookie Crum extractbles: While the cupcakes are cooling, prepare your frosting. If you’re using store-bought vanilla frosting, you can use it as is, or you can add a tiny bit more green food coloring to enhance the color if you wish. In a small bowl, combine the finely chopped mint chocolate chip cookies with about half of the vanilla frosting. Gently fold the cookie crum extractbles into the frosting until they are evenly distributed. This will create a delightful mint chocolate chip flavored frosting with lovely texture.
5. Frost and Decorate Your Cupcakes: Once your cupcakes are completely cool, it’s time to frost them. You can use a piping bag with your favorite tip for a decorative flourish, or simply spread the frosting generously with a spatula. Top each frosted cupcake with a sprinkle of green sprinkles for an extra festive touch. These cupcakes are best enjoyed the same day they are made, but can be stored in an airtight container at room temperature for up to two days.
These recipes offer a fantastic starting point for your St. Patrick’s Day dessert spread. They’re not only delicious but also bring a vibrant, celebratory spirit to the occasion. Enjoy the process, and more importantly, enjoy the delicious results with your loved ones! Happy St. Patrick’s Day!
Conclusion:
And there you have it! These delightful St. Patrick’s Day desserts are the perfect way to add a touch of festive cheer to your celebration. Whether you’re looking for a show-stopping centerpiece or a simple, sweet treat, these recipes offer something for everyone. Their vibrant green hues and classic Irish-inspired flavors are sure to impress your guests and bring smiles all around. Don’t be intimidated; these desserts are designed to be fun and accessible, making your St. Patrick’s Day baking experience a joy.
For serving suggestions, consider pairing these desserts with a dollop of fresh whipped cream, a drizzle of chocolate sauce, or even a scoop of vanilla ice cream. They are also wonderful served alongside a warm cup of tea or coffee. If you’re feeling adventurous, don’t hesitate to explore variations! You could add a hint of mint extract to the chocolate cake for an extra burst of flavor, or incorporate edible gold sprinkles for a truly magical touch to any of these St. Patrick’s Day desserts. I highly encourage you to give these recipes a try – they’re guaranteed to make your holiday even more special and delicious!
Frequently Asked Questions:
Can I make these St. Patrick’s Day desserts ahead of time?
Yes, absolutely! Many of these desserts can be made a day or two in advance and stored properly. Cakes and cupcakes can be baked and cooled, then stored in an airtight container at room temperature. Cookies can also be baked and stored. For frosting, it’s often best to frost closer to serving time to maintain freshness, or store frosting separately and frost just before presenting.
What if I don’t have green food coloring?
Don’t worry if you don’t have green food coloring! You can achieve a lovely natural green hue using pureed spinach or matcha powder in certain recipes, like cakes or frosting. For a more subtle green, you can also use a very small amount of green decorating sugar or even edible glitter to add a festive sparkle without altering the flavor.
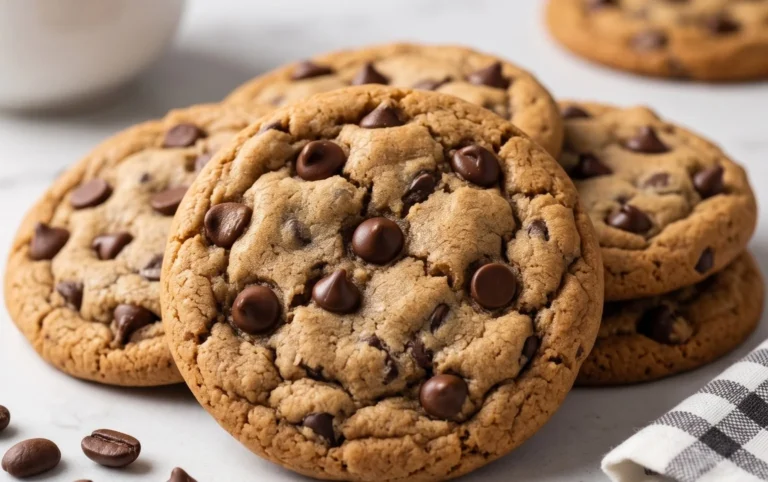
St. Patrick’s Day Mint Chocolate Chip Cookies
Festive green cookies bursting with mint and chocolate flavors, perfect for a St. Patrick’s Day celebration.
Ingredients
-
2 1/4 cups all-purpose flour
-
1 teaspoon baking soda
-
1 teaspoon salt
-
1 cup (2 sticks) unsalted butter, softened
-
3/4 cup granulated sugar
-
3/4 cup packed brown sugar
-
2 large eggs
-
1 teaspoon vanilla extract
-
1/2 teaspoon peppermint extract
-
Green food coloring
-
2 cups (12 oz) semi-sweet chocolate chips
Instructions
-
Step 1
Preheat oven to 375°F (190°C). Line baking sheets with parchment paper. -
Step 2
In a small bowl, whisk together flour, baking soda, and salt. Set aside. -
Step 3
In a large bowl, cream together softened butter, granulated sugar, and brown sugar until light and fluffy. -
Step 4
Beat in eggs one at a time, then stir in vanilla extract and peppermint extract. -
Step 5
Add green food coloring, one drop at a time, until desired shade of green is reached. Mix well. -
Step 6
Gradually add the dry ingredients to the wet ingredients, mixing until just combined. Do not overmix. -
Step 7
Stir in the chocolate chips. -
Step 8
Drop rounded tablespoons of dough onto the prepared baking sheets, about 2 inches apart. -
Step 9
Bake for 9 to 11 minutes, or until edges are golden brown and centers are still slightly soft. -
Step 10
Let cookies cool on the baking sheets for a few minutes before transferring them to wire racks to cool completely.
Important Information
Nutrition Facts (Per Serving)
It is important to consider this information as approximate and not to use it as definitive health advice.
Allergy Information
Please check ingredients for potential allergens and consult a health professional if in doubt.