Easy Orange Chicken Recipe- Delicious & Quick Meal
Orange chicken recipe. Ah, the siren song of sweet, tangy, and slightly spicy perfection. Who doesn’t dream of that glossy, caramelized coating clingin extractg to tender, crispy chicken pieces? It’s a dish that evokes takeout joy, movie nights, and the comforting aroma filling our kitchens. There’s a reason this classic is a global favorite. It strikes that magical balance of flavors that keeps us coming back for more. The vibrant citrus notes of the orange, the savory depth of the sauce, and the satisfying crunch of the chicken create a symphony for the taste buds. What truly makes this orange chicken recipe special, though, is its accessibility. You can recreate that restaurant-quality magic right in your own home, with a few simple ingredients and a touch of love.
Why You’ll Love This
The Perfect Blend of Sweet and Tangy
This particular orange chicken recipe has been perfected to deliver that irresistible sweet and tangy punch. We’re talking about a sauce that’s sticky enough to coat every bite, yet light enough to not overpower the delicate chicken. It’s a flavor profile that’s both familiar and exciting, making it a guaranteed hit for family dinners or a treat for yourself.
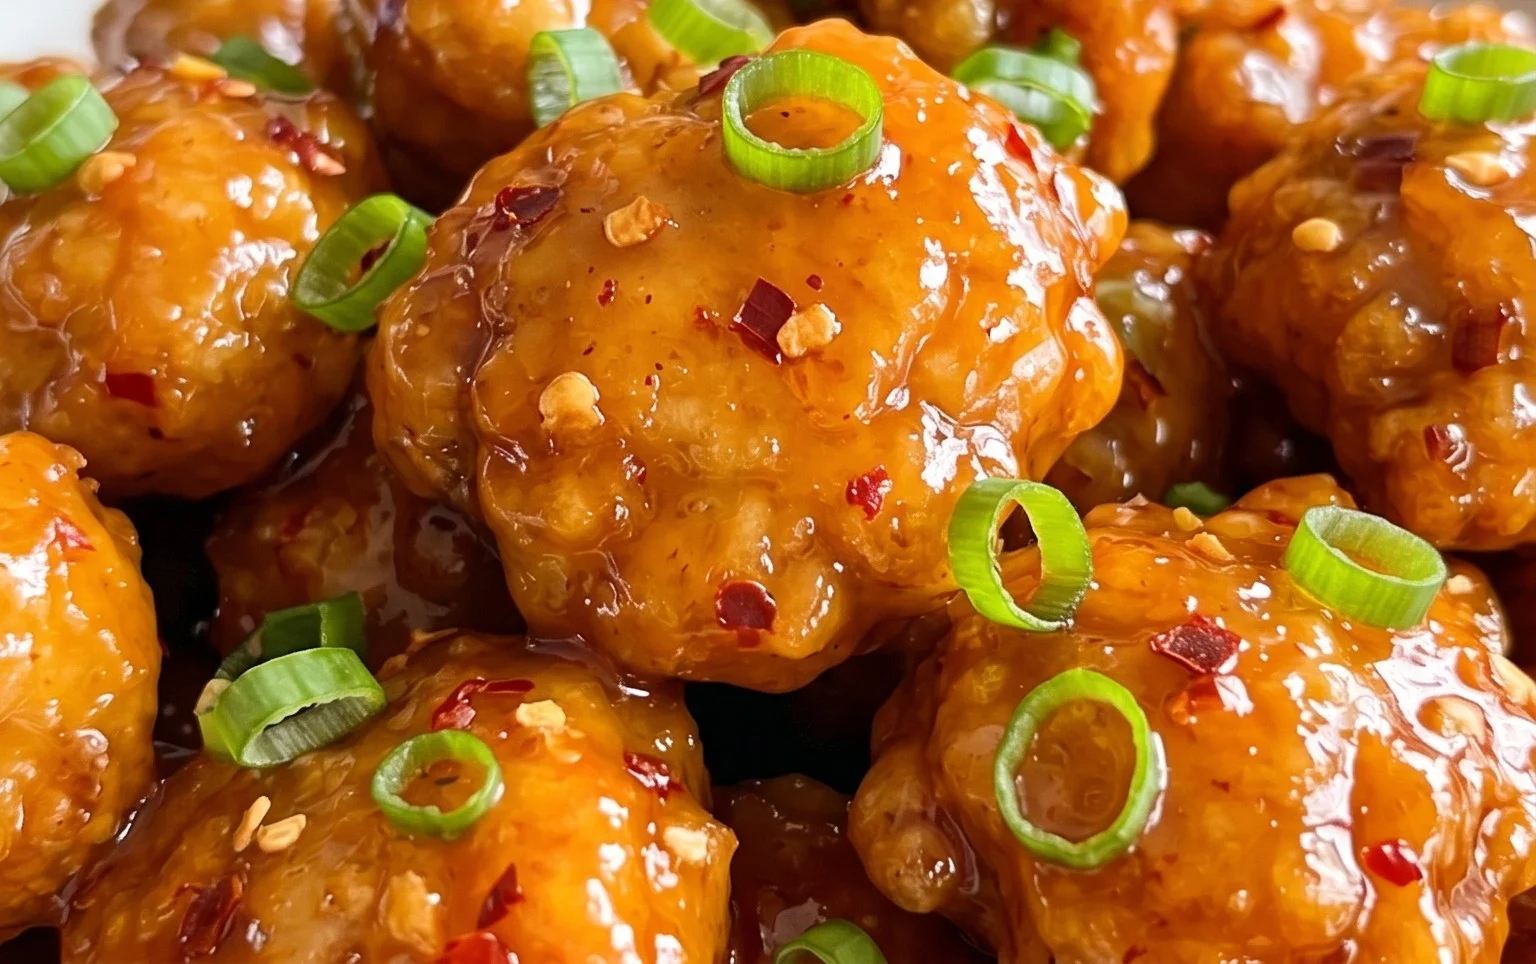
Orange Chicken Recipe
There’s a reason why Orange Chicken is a beloved staple in so many homes and at countless takeout restaurants. Its irresistible combination of sweet, tangy, and slightly savory flavors, coupled with that perfectly crispy exterior of the chicken, makes it an absolute winner. Forget those greasy, overly sweet versions you might have tried; this recipe focuses on achieving a balanced and vibrant sauce that truly lets the orange shine, all while keeping the chicken delightfully tender and coated in a wonderfully crisp shell. We’re going to break down the process step-by-step, so even if you’re new to stir-frying or Asian-inspired cooking, you’ll end up with a dish you can be proud of.
This recipe is all about building layers of flavor and achieving that perfect texture. The marinade for the chicken is crucial for tenderness and infusing it with subtle savory notes, while the dredgin extractg process ensures a satisfying crunch. The sauce itself is a beautiful symphony of sweet citrus, a hint of acidity, and umami from the soy sauce, all brought together with the aromatic warmth of gin extractger and garlic. Ready to impress yourself and your loved ones? Let’s get cooking!
Ingredients:
Preparing the Chicken for Frying
The first step to achieving that irresistible crispy exterior on our chicken is to properly prepare it. We’ll start by placing our bite-sized chicken pieces in a medium bowl. To this, we’ll add 1 tablespoon of soy sauce, the egg white, sesame oil, and ground white pepper. Give everything a good mix, ensuring each piece of chicken is well coated. This marinade not only adds a subtle savory depth but also helps tenderize the chicken. Let it sit for about 10-15 minutes while you prepare the coating. In a separate shallow dish or plate, combine the cornstarch and flour. This mixture is what will give our chicken its signature crispiness. Once the chicken has marinated, it’s time to dredge it. Working in batches, take each piece of chicken and toss it thoroughly in the cornstarch and flour mixture. Make sure each piece is fully coated, as this is key to achieving that golden brown, crunchy texture. Shake off any excess.
Cooking the Chicken
Now that our chicken is coated, it’s time to fry it. You have a couple of options here: pan-frying or deep-frying. For pan-frying, heat about 1/2 inch of neutral oil (like vegetable or canola oil) in a large skillet or wok over medium-high heat until it shimmers. Carefully add the coated chicken pieces in a single layer, being careful not to overcrowd the pan. Overcrowding will steam the chicken instead of frying it, resulting in a less crispy coating. Fry for about 3-4 minutes per side, until golden brown and cooked through. For deep-frying, heat about 2-3 inches of oil in a Dutch oven or deep fryer to 350°F (175°C). Fry the chicken in batches for about 3-5 minutes, or until golden brown and cooked through. Whichever method you choose, once the chicken is cooked, remove it with a slotted spoon and place it on a wire rack set over a baking sheet to drain any excess oil. This helps maintain its crispiness.
Crafting the Orange Sauce
While the chicken is draining, we can make our vibrant orange sauce. In a small saucepan, combine the water, fresh orange juice, brown sugar (adjust to your sweetness preference), 2 tablespoons of soy sauce, rice vinegar, shaoxing vinegar (if using), grated fresh gin extractger, and grated garlic. Whisk everything together until the sugar is dissolved. Place the saucepan over medium heat and bring the mixture to a gentle simmer. Let it simmer for about 5-7 minutes, stirring occasionally. This will allow the flavors to meld and the sauce to thicken slightly. If you’re using gin extractger and garlic powder instead of fresh, add them at the begin extractning with the other sauce ingredients. Taste the sauce and adjust the sweetness or tangin extractess as needed. If it’s too thick, you can add a splash more water or orange juice. If it’s too thin, you can let it simmer a bit longer or create a cornstarch slurry (1 tsp cornstarch mixed with 1 tbsp water) and whisk it into the simmering sauce until thickened.
Combining and Finishing
This is the moment where all our hard work comes together! Once your chicken is drained and your orange sauce is ready and slightly thickened, it’s time to combine them. You can either add the cooked chicken directly into the saucepan with the sauce and gently toss to coat each piece until it’s glossy and well-covered. Alternatively, you can pour the sauce over the chicken on a serving platter. The key is to do this just before serving to maintain the chicken’s crispiness. If you want a really thick coating of sauce, you can briefly return the sauced chicken to a hot pan for about 30 seconds to a minute, tossing constantly. Be mindful not to overcook it at this stage, as you don’t want to lose that delicious crispiness.
Serving Your Masterpiece
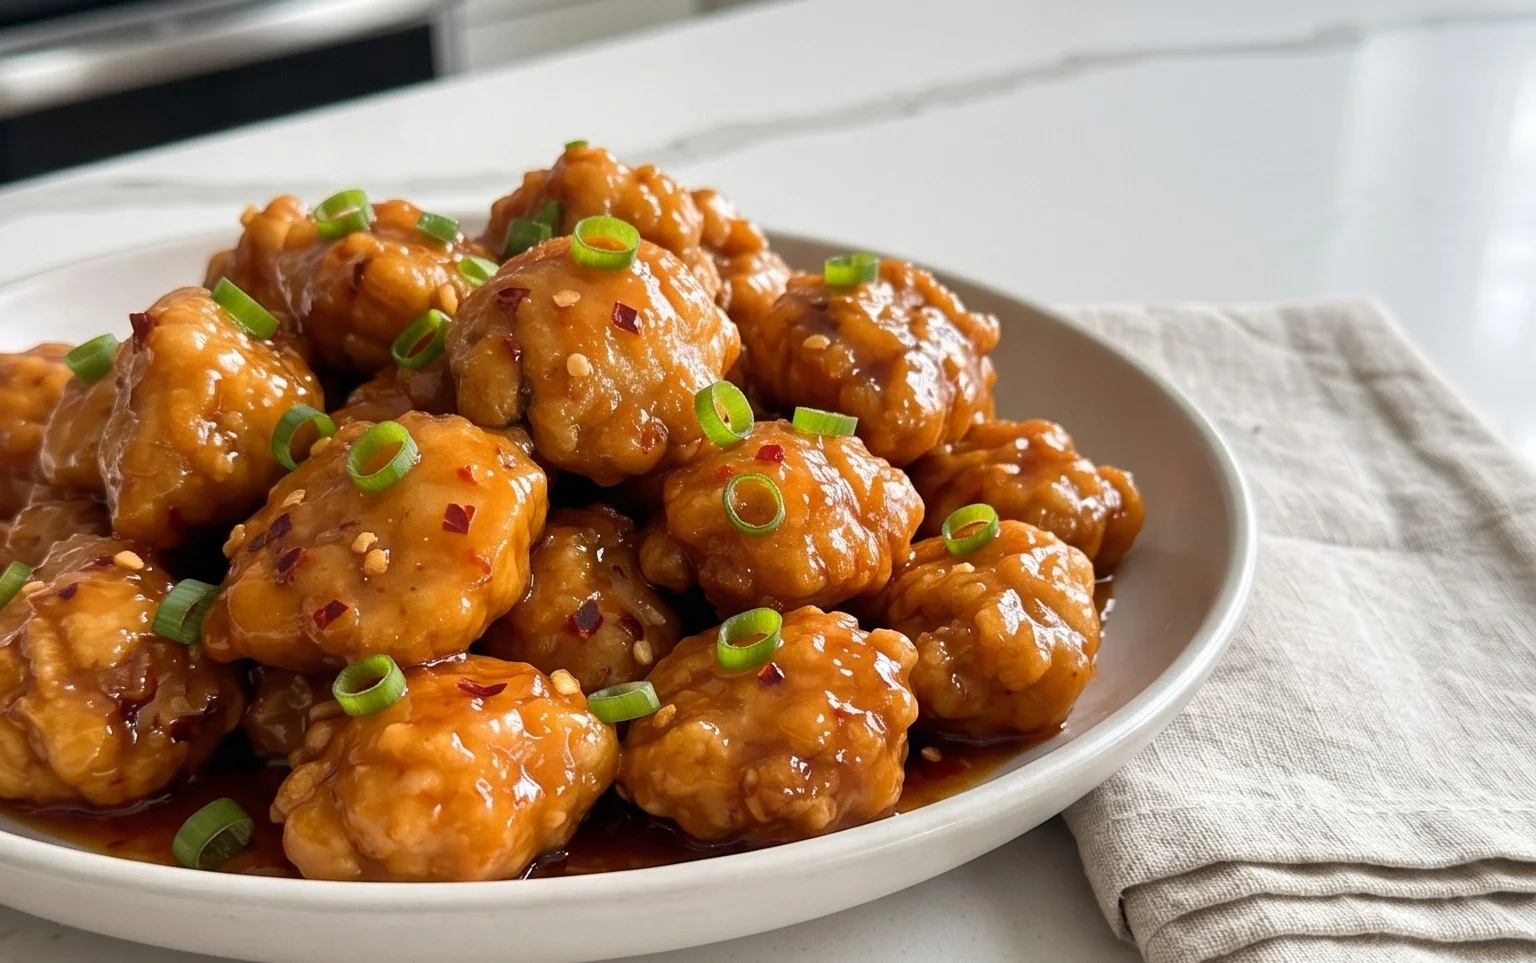
Serve your homemade Orange Chicken immediately while it’s piping hot and wonderfully crisp. It pairs perfectly with steamed white rice or fried rice. For an extra touch of freshness and color, garnish with toasted sesame seeds and thinly sliced green onions. You can also serve it with a side of steamed broccoli or your favorite stir-fried vegetables to create a complete and satisfying meal. Enjoy the fruits of your labor – a delicious, restaurant-quality Orange Chicken that’s made right in your own kitchen! The balance of sweet, tangy, and savory, with that satisfying crunch, is truly something special.
Conclusion:
There you have it – a fantastic recipe for homemade Orange Chicken that rivals your favorite takeout! This recipe is a true winner because it strikes that perfect balance between sweet and savory, with a delightful citrusy tang that’s incredibly satisfying. The crispy texture of the chicken coated in that luscious, glossy sauce is simply irresistible. It’s surprisingly straightforward to make, proving that delicious, restaurant-quality meals are absolutely achievable in your own kitchen. Don’t be intimidated; give this Orange Chicken a go, and prepare to impress yourself and anyone lucky enough to share it with you!
Serving this vibrant dish is a breeze. It pairs beautifully with fluffy steamed white or brown rice, which perfectly soaks up all that delicious sauce. For a more complete meal, consider adding some lightly steamed broccoli, snap peas, or even a fresh Asian-inspired slaw on the side. The possibilities for making this your own are endless!
If you’re feeling adventurous, try experimenting with variations. You could incorporate a pinch of red pepper flakes for a touch of heat, add a splash of sesame oil to the sauce for extra depth of flavor, or even use different citrus fruits like grapefruit or tangerine for a unique twist. The core of this Orange Chicken recipe is so adaptable!
Frequently Asked Questions:
Can I make the sauce ahead of time?
Yes, absolutely! The sauce for this Orange Chicken can be made a day or two in advance and stored in an airtight container in the refrigerator. You might need to gently reheat it and give it a good stir before coating your chicken.
What’s the best way to get the chicken extra crispy?
For maximum crispiness, ensure your oil is at the correct temperature (around 350°F/175°C) and don’t overcrowd the pan when frying. Fry the chicken in batches, allowing enough space between pieces so they can crisp up evenly without steaming.
Orange Chicken Recipe
A delicious and easy recipe for crispy orange chicken, a popular Chinese-American dish.
Ingredients
-
350 -450 g chicken thighs, cut into bite-sized-pieces
-
1/2 cup cornstarch
-
2 tbsp flour
-
1 tbsp soy sauce
-
1 egg white
-
1 tsp sesame oil
-
1/4 tsp ground white pepper
-
1/3 cup water
-
3/4 cup fresh orange juice
-
4 -6 tbsp brown sugar
-
2 tbsp soy sauce
-
1 tbsp rice vinegar
-
1 tbsp non-alcoholic sake
-
1/2 tsp grated ginger
-
1 clove grated garlic
Instructions
-
Step 1
In a bowl, combine chicken pieces with 1 tbsp soy sauce, egg white, sesame oil, and white pepper. Marinate for 10 minutes. -
Step 2
In a separate bowl, mix cornstarch and flour. Dredge the marinated chicken pieces in the cornstarch mixture until evenly coated. -
Step 3
Heat oil in a wok or large skillet over medium-high heat. Fry chicken in batches until golden brown and cooked through. Drain on paper towels. -
Step 4
In a small saucepan, combine orange juice, brown sugar, 2 tbsp soy sauce, rice vinegar, non-alcoholic sake, grated ginger, grated garlic, and water. Bring to a simmer and cook for 5-7 minutes, until slightly thickened. -
Step 5
Return the fried chicken to the wok or skillet. Pour the orange sauce over the chicken and toss to coat evenly. -
Step 6
Serve immediately, garnished with sesame seeds or green onions if desired.
Important Information
Nutrition Facts (Per Serving)
It is important to consider this information as approximate and not to use it as definitive health advice.
Allergy Information
Please check ingredients for potential allergens and consult a health professional if in doubt.