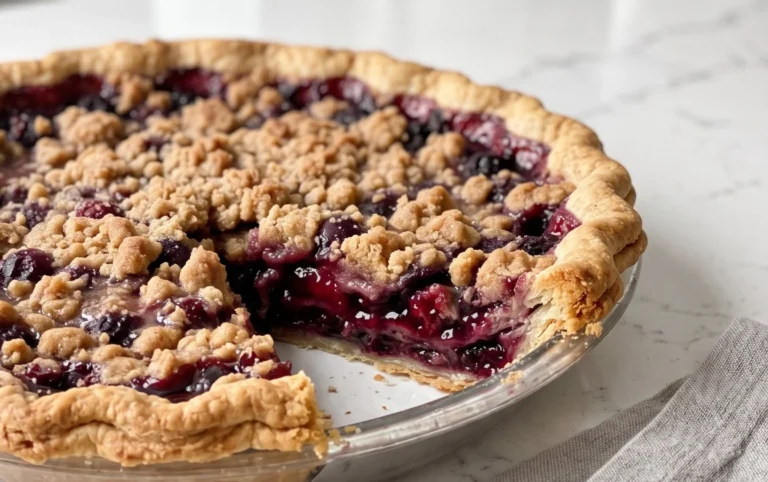
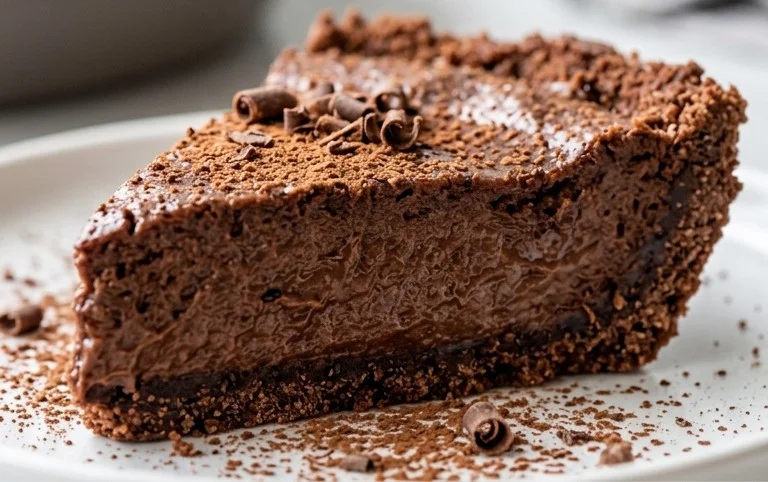
Clay Pie Recipe- Easy How-To Guide
How to Make a Clay Pie. There’s something deeply satisfying about creating something from scratch, and when it comes to comfort food, few things beat a beautifully crafted clay pie. This isn’t your average dessert; it’s an edible work of art, a testament to patience and a love for tradition. Imagin extracte the delightful aroma filling your kitchen as you assemble each layer, knowing that a truly special treat awaits. People adore clay pies not just for their rustic charm and unique presentation, but for the incredible depth of flavor and comforting texture that emerges after baking. What truly sets a clay pie apart is the earthy, satisfying feel of the pastry itself, holding in a rich, often fruit-filled, heart. It’s a dish that evokes warmth, homeliness, and a touch of culinary magic.
Get ready to embark on a delicious adventure.
We’ll guide you through every step of creating your very own show-stopping clay pie.

How to Make a Clay Pie
Are you looking for a charming and unique craft project that results in a delightful miniature treat? Making a clay pie is a fantastic way to unleash your creativity and produce a charming decorative piece or even a cute charm for jewelry. Unlike real pies, these edible-looking creations are incredibly durable and will last a lifetime. We’ll be using polymer clay to sculpt a miniature pie that looks almost good enough to eat! Don’t worry if you’re new to polymer clay; this project is begin extractner-friendly and offers plenty of room for personalization. Let’s gather our supplies and get started on crafting our very own delectable-looking clay pie.
Ingredients:
Crafting Your Miniature Pie
The process of creating your clay pie is quite straightforward and can be broken down into a few key stages. We’ll start by preparing our “crust,” then move on to the delicious “filling,” and finally, add those realistic finishing touches that bring our miniature pie to life. Remember, with polymer clay, the possibilities are endless, so feel free to experiment with different filling colours, crust designs, and even add a dollop of “whipped cream” if you have some white clay handy!
Preparing the Pie Crust
1. The first step in crafting our pie is to create the base, or the “crust.” Take a portion of your tan polymer clay. The amount you’ll need will depend on the size of your silver bottle cap, as this will serve as our pie mold. I like to use a bottle cap that’s about an inch or so in diameter for a nice miniature size. Knead the tan clay until it’s soft and pliable. This is an important step because stiff clay can be difficult to work with and may crack when you try to shape it. Once the clay is soft, flatten it into a disc that is slightly larger than the opening of your silver bottle cap. You can do this by hand or with a small rolling pin if you have one.
2. Next, gently press the flattened tan clay disc into the silver bottle cap. Make sure the clay adheres well to the bottom and sides of the cap, creating a smooth, even layer. Trim off any excess clay that overhangs the edge of the bottle cap. You want a clean rim that mimics a real pie crust. You can use a craft knife or the edge of a clay tool for this. Now, for a little texture and realism, you can use a toothpick or a fine-tipped tool to gently score lines around the edge of the crust. These lines can represent the crimped edge of a pie crust. Don’t worry about making them perfect; slight imperfections add to the homemade charm.
Creating the Luscious Filling
3. Now it’s time for the star of our pie: the filling! Take your chosen colour of polymer clay – I’m using red for a classic cherry or raspberry pie look, but feel free to use blue for blueberry, green for lime, or even yellow for lemon! Knead this clay until it’s soft and smooth. Depending on the look you want, you can either leave the filling as a smooth surface or add texture. If you want a more rustic look, you can crum extractble or mash small pieces of the red clay to create a more irregular, chunky filling. For a smoother filling, simply press a flattened piece of the red clay into the tan crust you’ve already prepared in the bottle cap. You want to fill the crust almost to the brim, leaving a tiny bit of space at the top.
Adding Realistic Details
4. To make our pie truly convincing, we need to add some of those characteristic pie details. You can create a lattice top, cut-out shapes, or even a simple crum extractble topping. For a lattice top, roll out thin strands of tan polymer clay and weave them over the red filling. Trim the ends of the strands and press them gently into the edge of the crust to secure them. If you prefer a simpler approach, you can use a small cookie cutter or a knife to cut out small shapes like leaves or circles from tan clay and arrange them on top of the filling. Another option is to create a crum extractble topping by crum extractbling small pieces of tan clay and sprinkling them evenly over the filling. This gives a wonderfully rustic and baked appearance.
5. The final touch that really elevates our clay pie is adding a touch of colour and shadow to enhance its baked appearance. Take your two shades of brown soft pastels. Using a small brush or even your fingertip, lightly dust the edges of the crust and any exposed crust areas with the lighter brown pastel. This creates a subtle highlight, suggesting where the crust might be slightly more baked. Then, using the darker brown pastel, very sparingly, add a hint of shading to the crevices of the crust or where the filling meets the crust. This depth makes the pie look much more realistic. You can also lightly dust the top of the filling with a tiny bit of the darker brown to suggest a cooked, slightly browned surface.
Baking and Finishing Your Pie
Once all your sculpting and detailing are complete, it’s time to bake your polymer clay pie. Follow the instructions on your specific brand of polymer clay for baking temperatures and times. Typically, this involves baking in a conventional oven at around 275°F (135°C) for 15-30 minutes, depending on the thickness of your clay. Ensure good ventilation in your kitchen while baking. After baking, allow the pie to cool completely inside the bottle cap. Once cool, you can carefully remove it from the cap. You can now use your miniature pie as a decorative item, glue it onto a pendant base for jewelry, or even use it in dioramas. Enjoy your charming, edible-looking creation!
Conclusion:
You’ve now learned the secrets to creating a beautiful and surprisingly simple clay pie! This recipe is a fantastic way to unleash your creativity, whether you’re looking for a unique craft project, a fun activity for kids, or even a way to practice sculpting techniques. The beauty of this clay pie lies in its versatility – it’s a blank canvas for your imagin extractation. Whether you aim for a rustic, homemade look or a meticulously detailed masterpiece, the process is incredibly rewarding and the end result is a charming decorative piece you can be proud of.
To elevate your clay pie display, consider serving it on a vintage-inspired plate or a rustic wooden board. It makes a wonderful centerpiece for a coffee table, a charming addition to a kitchen counter, or a delightful gift for a friend. For even more fun, explore variations! You could experiment with different “filling” colors by mixing in acrylic paints or food coloring (though note that food coloring may not be as vibrant as paint). Adding textures with forks, stamps, or even small leaves can create a wonderfully realistic crust. Don’t be afraid to go bold with your topping embellishments – think faux berries, miniature sculpted fruits, or even a dusting of fine glitter for a touch of magic.
I truly hope you feel inspired to give this clay pie recipe a try. It’s a project that offers a delightful escape and a tangible, beautiful outcome. So gather your supplies, clear some space, and let your artistic journey begin extract!
Frequently Asked Questions:
What kind of clay is best for this recipe?
Air-dry clay is generally the easiest and most accessible option for this project. It doesn’t require baking and dries to a hard finish, making it perfect for decorative pieces like our clay pie. You can find it at most craft stores.
Can I make this clay pie edible?
This recipe is designed for decorative purposes only and is not meant to be eaten. The materials used, like clay and paints, are not food-safe. For an edible pie, you would need a traditional baking recipe.
How long does it take for the clay pie to dry?
Drying time can vary depending on the thickness of your clay and the humidity of your environment, but typically, a clay pie will take 24 to 48 hours to dry completely. You can speed up the process slightly by placing it in a well-ventilated area, but avoid direct heat which can cause cracking.
How to Make a Clay Pie
Create a realistic-looking miniature pie using polymer clay. Perfect for crafting or dollhouse accessories.
Ingredients
-
Tan Polymer clay
-
Silver bottle cap(s)
-
Red Polymer clay
-
Soft pastels (2 shades of brown)
-
Clay conditioning tool or roller
-
Craft knife or clay blade
-
Sculpting tools (optional)
Instructions
-
Step 1
Condition the tan polymer clay until pliable. Roll it out thinly to form the pie crust. -
Step 2
Press the rolled tan clay into the silver bottle cap to create the pie dish shape. -
Step 3
Condition the red polymer clay. Roll it out and shape it to fit as the pie filling within the crust. -
Step 4
Use a craft knife to trim any excess tan clay from the edges of the bottle cap. You can crimp the edges for a more realistic look. -
Step 5
Apply the soft pastels to the tan clay crust to create a baked, browned effect. Use a brush or your fingertip to blend the colors. -
Step 6
Bake the clay according to the manufacturer’s instructions. Typically, this involves baking at a low temperature for about 15-20 minutes. -
Step 7
Allow the clay pie to cool completely before handling or displaying.
Important Information
Nutrition Facts (Per Serving)
It is important to consider this information as approximate and not to use it as definitive health advice.
Allergy Information
Please check ingredients for potential allergens and consult a health professional if in doubt.