Sweet Potato Tortillas Gluten-Free Vegan Wraps
Sweet potato tortillas (gluten-free vegan wraps) are about to become your new kitchen superhero! If you’ve been on the hunt for a versatile, healthy, and utterly delicious way to wrap up your favorite fillings, your search ends here. These vibrant, naturally sweet tortillas have captured hearts for a reason: they’re incredibly pliable, packed with nutrients, and free from common allergens, making them a dream for anyone navigating gluten-free or vegan diets. Unlike their traditional counterparts, these sweet potato tortillas offer a subtle, earthy sweetness that beautifully complements both savory and sweet creations. Imagin extracte soft, flexible wraps that don’t crum extractble, perfect for breakfast burritos, vibrant lunch wraps, or even as a base for mini pizzas. They’re a testament to how wholesome ingredients can create something truly magical, and I can’t wait to share this simple recipe with you!
Sweet Potato Tortillas (Gluten-Free Vegan Wraps)
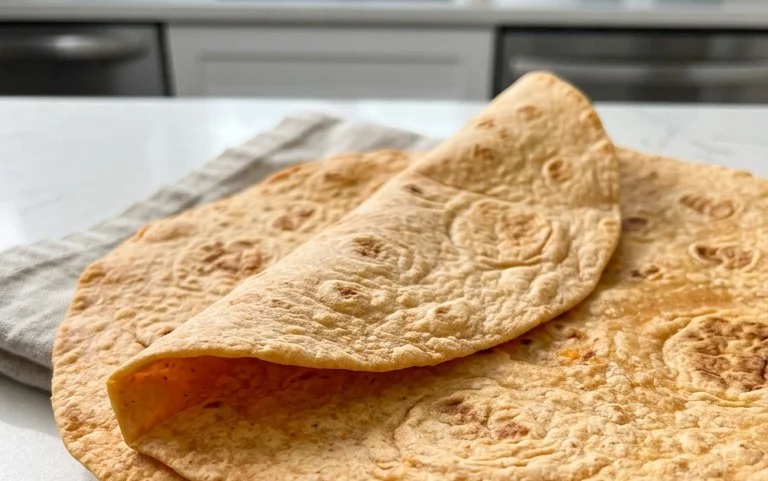
Are you on the hunt for delicious, pliable, and healthy wraps that are both gluten-free and vegan? Look no further! These Sweet Potato Tortillas are a game-changer. They are incredibly satisfying, packed with flavor from the sweet potato, and versatile enough to be filled with anything your heart desires. Forget those dry, crum extractbly gluten-free alternatives; these wraps are soft, slightly chewy, and hold up beautifully to all your favorite fillings. Plus, they’re surprisingly easy to make, even if you’re new to gluten-free baking. The natural sweetness of the sweet potato adds a wonderful depth of flavor that perfectly complements savory or sweet fillings.
These tortillas are a fantastic way to sneak in some extra veggies, and the psyllium husk provides that essential binding and flexibility that gluten typically offers in traditional doughs. I love making a big batch and keeping them in the fridge for quick and healthy meals throughout the week. They are perfect for breakfast burritos, lunch wraps, or even as a base for a healthy pizza. The color they achieve is also a beautiful warm orange, making them visually appealing.
Ingredients:
Cooking Instructions:
First, we need to prepare our sweet potato base. This is crucial for the texture of our tortillas. Make sure your sweet potatoes are cooked until they are extremely tender. Steaming is often preferred as it adds less moisture than boiling. Once cooked, mash them thoroughly until there are absolutely no lumps. You want a smooth, paste-like consistency. This can be done with a fork, a potato masher, or even a food processor for ultimate smoothness. Let the mashed sweet potato cool slightly so it’s warm to the touch, but not hot.
In a large mixing bowl, combine the slightly cooled mashed sweet potato with the vegan butter. If you’re using oil, simply add it in. Cream these together until well combined and relatively smooth. Next, add the sea salt, black pepper, onion powder, and garlic powder to the bowl. Stir everything together. This is where we start building our flavor profile.
Now, it’s time to introduce the magic of fermentation and binding. Add your gluten-free sourdough starter to the sweet potato mixture. If you don’t have a gluten-free sourdough starter, don’t worry! You can substitute it with an equal amount of plain unsweetened plant-based yogurt mixed with 1 teaspoon of apple cider vinegar, let it sit for 5 minutes until it slightly fizzes. This will provide a similar tang and help with texture. Stir this into the sweet potato mixture until it’s evenly incorporated.
The psyllium husk is our gluten substitute, providing elasticity and structure. Sprinkle the psyllium husk over the wet ingredients. At this stage, the mixture will start to thicken considerably. Stir it in well. If the mixture seems a bit too dry and unmanageable, add 1 tablespoon of hot water at a time, stirring after each addition, until you achieve a workable, thick dough-like consistency. Be careful not to add too much water, as this can make the tortillas sticky. The dough should feel slightly tacky but not overly wet.
Next, we add the arrowroot flour and the optional baking powder. Gradually add the arrowroot flour, stirring it into the dough. This flour helps to create a smooth texture and absorb any residual moisture. If you are using the baking powder for extra puffiness, whisk it into the arrowroot flour before adding it to the dough. Mix until a cohesive dough forms. It should be soft and pliable, but not sticky enough to adhere excessively to your hands or the bowl. You might need to knead it for a minute or two in the bowl to bring it all together.
Shaping and Cooking the Tortillas:
Turn the dough out onto a clean surface. If it’s a little sticky, you can lightly dust your hands with a bit of arrowroot flour. Gently knead the dough for about a minute to ensure everything is well combined and to develop a smooth texture. Divide the dough into equal portions. For medium-sized tortillas, I usually get about 6-8 out of this recipe. Roll each portion into a ball.
Now comes the fun part: shaping! The best way to get nice, round tortillas without them sticking is to use parchment paper. Place a dough ball between two sheets of parchment paper. Use a rolling pin to roll out the dough as thinly as possible. Aim for about 1/8th of an inch thickness. The thinner you roll them, the more pliable they will be. You can also use a tortilla press if you have one, ensuring you use parchment paper to prevent sticking. If you don’t have parchment paper, you can lightly dust your surface and rolling pin with arrowroot flour, but be prepared for a bit more sticking.
Heat a lightly oiled or un-oiled non-stick skillet or griddle over medium-high heat. Once the pan is hot (a drop of water should sizzle immediately), carefully peel one of the rolled-out tortillas off the parchment paper and lay it onto the hot skillet. Cook for about 1-2 minutes per side, or until you see golden brown spots appearing and the tortilla starts to puff up slightly. Don’t overcrowd the pan; cook them one or two at a time.
As each tortilla is cooked, transfer it to a plate and cover it immediately with a clean kitchen towel or another piece of parchment paper. This steam will help keep them soft and pliable. Repeat the process with the remaining dough balls, stacking the cooked tortillas as you go, always ensuring they are covered. They are best enjoyed warm, but they store well in an airtight container in the refrigerator for up to 3-4 days. You can also freeze them for longer storage. To reheat, gently warm them in a dry skillet or microwave. Enjoy your delicious homemade, gluten-free, vegan sweet potato tortillas!
Conclusion:
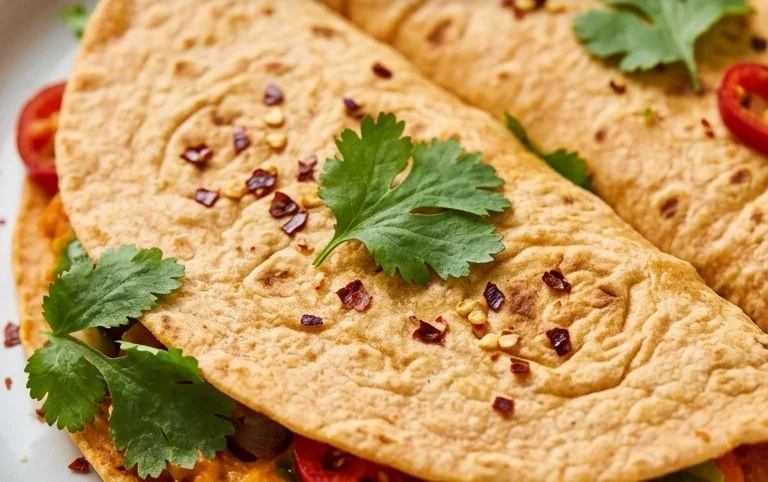
You’ve just unlocked the secret to delicious, healthy, and incredibly versatile sweet potato tortillas! These gluten-free vegan wraps are a game-changer for anyone looking to add more plant-based goodness to their meals without sacrificing flavor or texture. Their natural sweetness from the sweet potato, combined with the satisfying chegrape juicess, makes them a perfect base for a wide array of fillings. I truly believe you’ll be amazed at how easy they are to make and how beautifully they hold up to both hot and cold ingredients.
Think vibrant taco nights, hearty breakfast burritos, or even light and satisfying lunch wraps. Don’t be afraid to experiment with your favorite spices and fillings. For a touch of spice, add a pinch of cayenne pepper to the dough. If you’re craving something a little more savory, consider incorporating finely chopped herbs like rosemary or thyme. I encourage you to give these sweet potato tortillas a try; you might just find your new go-to wrap!
Frequently Asked Questions:
Can I make these ahead of time?
Absolutely! You can prepare the dough and store it in an airtight container in the refrigerator for up to 3 days. You can also cook the tortillas and store them layered with parchment paper in a senon-alcoholic aled container for 2-3 days. Reheat them gently in a dry skillet or microwave.
What are some other filling ideas?
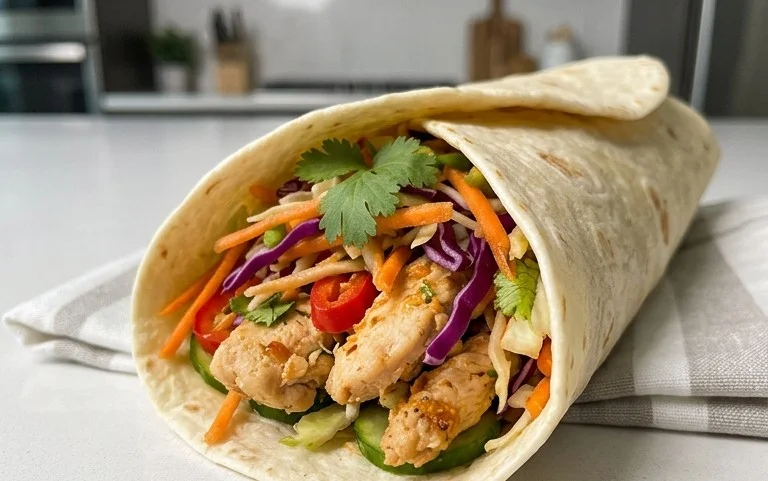
The possibilities are endless! Try them with seasoned black beans and corn, spiced lentil filling, roasted vegetables like bell peppers and onions, or even a simple avocado and tomato mix. For a non-vegan option, grilled chicken or cheese would also be delicious!
My tortillas are a bit dry. What can I do?
If your sweet potato is particularly dry, you might need to adjust the amount of liquid. Start with the recommended amount and add a tablespoon of water or plant-based milk at a time if the dough feels too crum extractbly. Ensure your sweet potato is well-mashed and free of large lumps for a smoother dough consistency.
Sweet Potato Tortillas (Gluten-Free Vegan Wraps)
Delicious and flexible gluten-free, vegan wraps made with sweet potato. Perfect for a healthy and versatile meal base.
Ingredients
-
2 small sweet potatoes – steamed or boiled (no liquid / mashed)
-
2 tbsp vegan butter
-
1-2 tbsp hot water
-
3/4 tsp sea salt
-
1/4 tsp black pepper
-
1/2 tsp onion powder
-
1/2 tsp garlic powder
-
3/4 cup gluten free sourdough starter
-
2 tsp psyllium husk
-
2-3 tbsp arrowroot flour
-
1/2 tsp baking powder
Instructions
-
Step 1
Mash the steamed or boiled sweet potatoes until smooth. Ensure no liquid remains. -
Step 2
In a bowl, combine mashed sweet potato, vegan butter, hot water, sea salt, black pepper, onion powder, and garlic powder. Mix well. -
Step 3
Add the gluten-free sourdough starter and psyllium husk to the sweet potato mixture. Stir until incorporated. -
Step 4
Gradually add the arrowroot flour, mixing until a dough forms. If using, mix in the baking powder. -
Step 5
Divide the dough into 6-8 equal portions and roll them into balls. -
Step 6
On a lightly floured surface (using arrowroot flour), roll out each ball into a thin tortilla, about 6-8 inches in diameter. -
Step 7
Heat a lightly oiled skillet or griddle over medium heat. Cook each tortilla for 2-3 minutes per side, until lightly browned and cooked through.
Important Information
Nutrition Facts (Per Serving)
It is important to consider this information as approximate and not to use it as definitive health advice.
Allergy Information
Please check ingredients for potential allergens and consult a health professional if in doubt.